


.png)
DIY: Hanging Herb Garden
- kellie

- Mar 23, 2017
- 3 min read
Happy Spring!
Hopefully this means we are leaving the cold weather behind us, and can finally look forward to sunshine and warm temperatures. Spending time outdoors, dinner on the grill, and planning summer vacation. But for gardeners (or those with green thumbs), spring is when the garden gets planned and the seeds get planted.
During the warmer months, my family does a lot of at-home cooking on the grill and eats a lot of fresh vegetables from our garden. It's easy, cheap, and healthy - not to mention everything is juicy and as fresh as possible. Having a garden lends itself to growing all sorts of things from tomatoes, squash, melons, and herbs.
Herbs grow great in the Maryland summers, and a few seeds creates a huge amount of herbs. A few staples of our summer recipes include basil, thyme, rosemary, and cilantro. Since herbs grow well in warm climates with sun and shade, I decided to try something different this year and plant herbs inside.
Inside herb gardens are super trendy right now, thanks to the farm-to-table fad. My kitchen gets great sunlight in the morning and afternoon, so I thought I'd get creative as to how I could have an indoor herb garden without taking up counter-space or using hanging plants that would block the windows.
DIY: Indoor Herb Garden
Tools
3 20oz Mason Jars
Adjustable Hose Clamps
3 1" screws
Wood Stain or Wood Tint
Foam-Tipped Paint Brush
Old rag
Unfinished Wood Pallet Plaque
Electric drill
Potting Soil
Assorted Herbs
Sturdy rope
Ceiling Plant Hanger
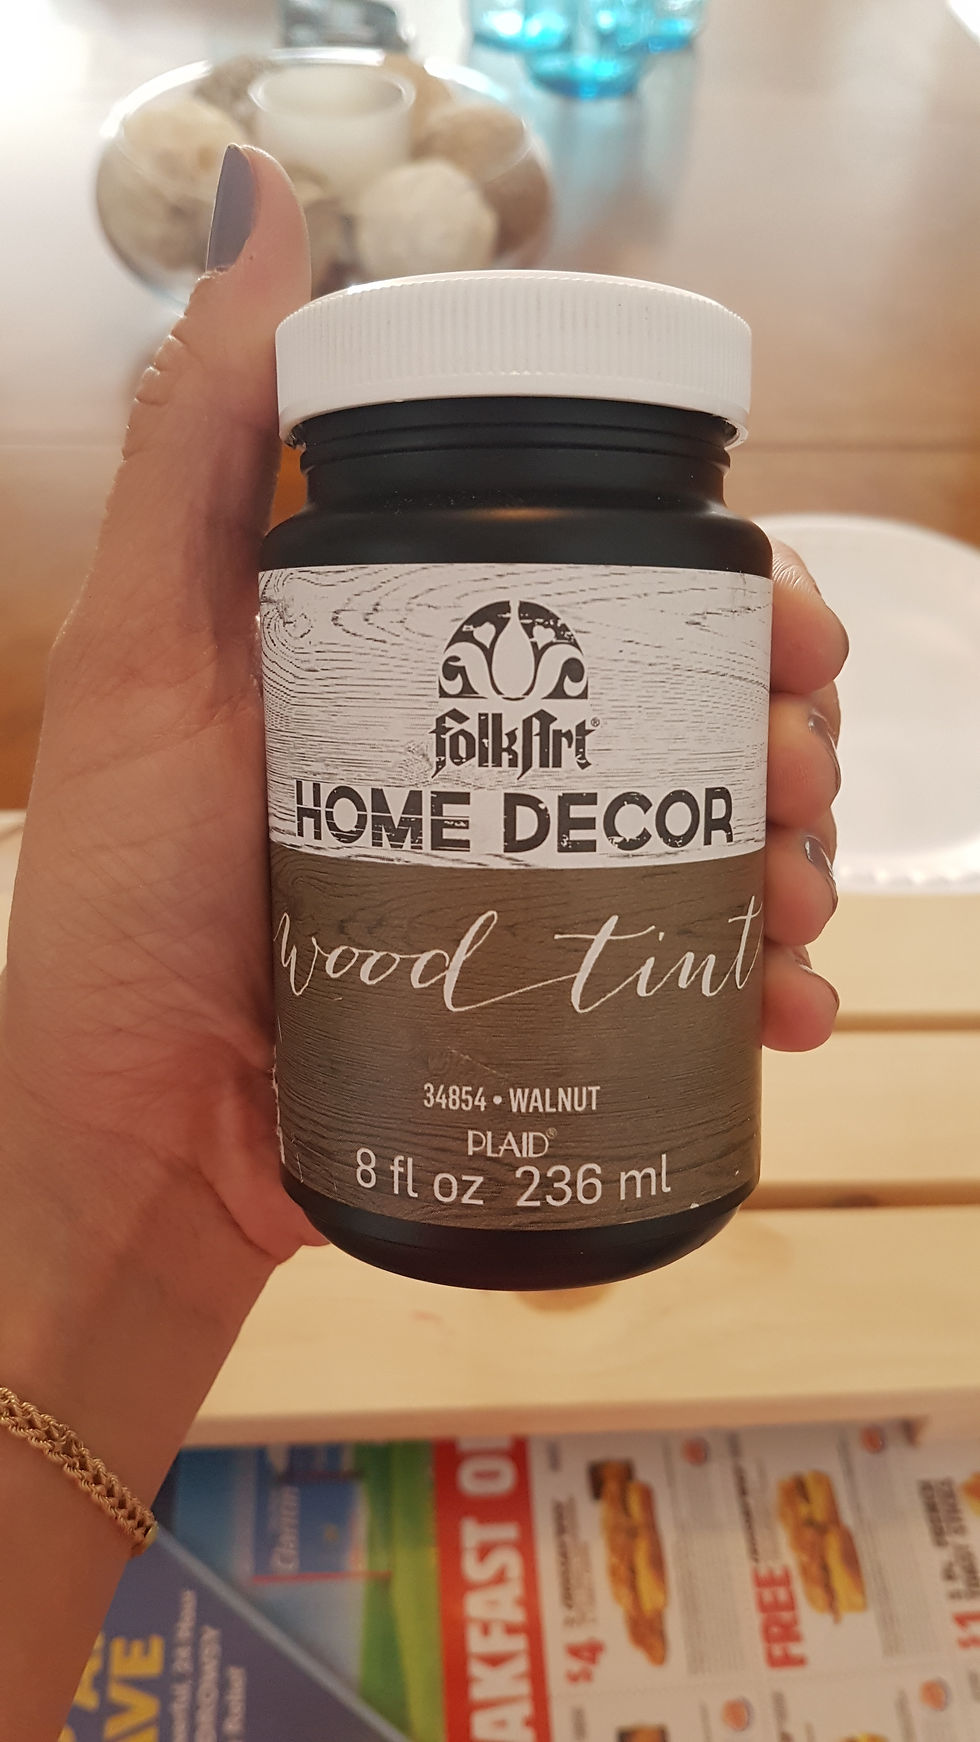

1. Cover your table or flat surface with old newspapers to prevent any wood stain or tint getting on your tabletop. I used the FolkArt Wood Tint for this project because it's easy and streak-free. Paint the tint onto your unfinished wood pallet and cover completely. Before the tint can dry, rub your old rag to wipe off excess wood tint. Wait about 20 minutes to let dry. If the color is too light or uneven, paint, wipe off extra, and as many times as you want to reach your desired wood color.
If you prefer the antique wood-look, only wipe off 2-3" sections of the wood plaque so the stain is uneven and looks weathered. The picture above has 2 coats of wood tint.
2. Once the wood pallet is completely dry, make 3 markings where the mason jars will be attached. Drill the screws into each marking, and remove. This will make a good guide for when you are attaching the hose clamps. It's not easy to drill through metal, so be patient and put some muscle into it!

When all 3 hose clamps are secured onto the wooden pallet, unscrew the clamps and insert your mason jars. Tighten and fasten the clamps so the neck of the jar doesn't wiggle. Before planting your herbs, decide how you want to hang your herb garden.

3. The pallet I used has gaps between wooden slats, so I decided to use a sturdy rope weaved around the wood. This doesn't require screws and this way, it's easy to take down when I want to plant new herbs. Or, use heavy hanging screws to secure to the wall. It's going to be heavy with the dirt and herbs - I suggest drilling into a stud to ensure your herb garden doesn't fall. I used a ceiling plant hook with a maximum weight for 30lbs.

Disclaimer: I can't take full credit on this project. I originally found this idea on Pinterest and it was made on a smaller scale (small wooden plaque and much smaller containers) for bathroom necessities like cotton balls, toothbrushes, and cotton swabs. The fiance has been wanting me to make it for months now, but once we got planning our garden, this seemed like a much better idea! He was thrilled to have herbs growing in the kitchen, and I love how it adds a pop of color and life to the kitchen walls!
Most importantly, this is a fun project. Plant whatever indoor plants you want - flowers, herbs, greenery - it's up to you. Play around with different wood tints and jar colors to make your hanging planter fit your decor and your style.
xoxo
-K
Comments